I do. And I have a bajillion pins of all sorts of stuff on there. Food, funnies, DIY home projects, cute animals, dreams of things I can't ever afford.....
But back to those DIY home projects. I've gotten several ideas and we are actually starting to do some of those projects! And I am so incredibly excited that this project is done and I am so so so in L-O-V-E with it!
The original pin I had with the site that I got this idea from is here: Instagram Wall Inspiration Post
So, let's start out with showing you the finished project... and then I'll ramble on and on.....

I still need to get the shelving unit that I want to put below the frames, but I measured it up so that I will have a little room to add a vase/decor/etc and have it all look fabulous.
So let's talk a bit about how I went about doing this.
First, the paint!
I had originally thought that I'd paint this wall the same color that we are planning on painting the entire house (the main areas)... And that would be Silver Bullet by Behr. So, that's what we did.
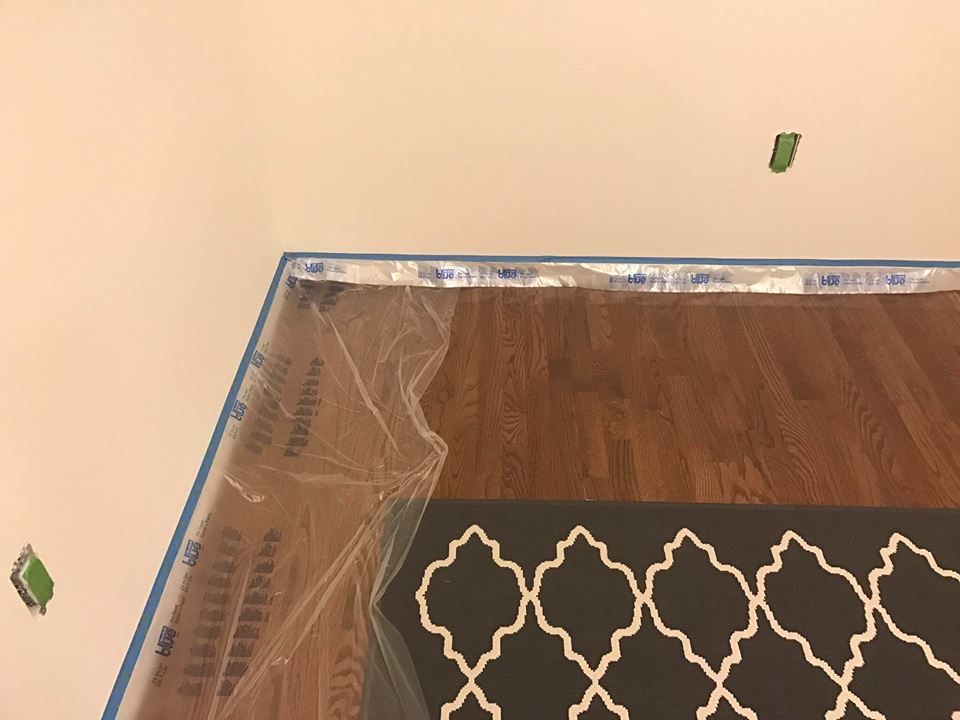
I'm not so good at the whole before/after photo thing, haha! So you get an in between photo of this one:

And once it was painted, I decided I didn't like it for the look I was going for. These frames are WHITE. The shelf I want to put on this wall is WHITE. So while I do love this color grey and can't wait for it to be on the rest of the house.... it wasn't right for my Instagram wall.
So, we instead went with Mission Control by Behr. It's the color that we painted in the loft on that one long wall {for future projects that we will *hopefully* be tackling soon} and also the long wall in the foyer-- that you can actually see in the first photo I posted and in my other blog post about all of our colors throughout the house {A Pop of Color}.
There's one difference with the paint on the Instagram wall than the other 2 walls just mentioned.... We used a high gloss. No specific reason for that except we had a quart of it for a project and I ended up not liking the way it contrasted with my other color, so it was extra. So why not use it?!

You can see the shine of it a bit, especially if you compare it to the eggshell that's on the foyer wall in the background.
Second, the frames!
I got the frames from the same place that the blog I pinned got them.... Tiny Mighty Frames. I scoured the internet even after finding this site, as I wanted to keep this project as budget-friendly as possible. And, when I first stumbled upon this site and the blog that inspired all of this, the frames were quite expensive, IMO.
But internet searching didn't turn up anything cheaper or what seemed better quality, so I knew that this is who I'd be going with for my frames. Now, when we moved in I knew I wanted to do all this, but wasn't set on doing it now. However, one day at work I happen to be perusing my Pinterest and came across my pin for this Instagram Wall, and with a little clicking, realized that the frames were ON SALE!!! Like, more than 50% off on sale! So I had to act now! I convinced hubby into letting me get them! But, I had a problem. LOCATION! I had no idea where I wanted this wall to go!
So, we got home that day and looked at the walls and decided that this little wall would be best. For anyone that has a Milan, this is in between the front 2 rooms (living room and dining room)-- we didn't have ours closed off to make a study so they're 2 rooms that kinda flow together. This wall is actually the back end of the hall closet that is in the foyer.
Measurements were taken and then I did some math. Got a guestimate of how many frames I wanted to put up.
Something to note: Even though these frames fit a 4x4 photo, you must actually measure it out that the frame itself is a 5x5 frame. I didn't when I did my initial calculations and actually over-bought the number of frames I needed.
Next-The pictures!
If I can admit one thing, it's that I am trigger happy. I take pictures of everything. And I mean EV-er-Y-thing! I have them saved all over the place and had a very hard time trying to decide which ones I wanted to use.
But, for printing them: I used Shutterfly. More specifically, the Shutterfly app on my phone. They advertise that you can get UNLIMITED 4x4 or 4x6 prints for FREE! Yep, FREE!! You just pay shipping and handling.
There were a couple "catches" to this, if you will.... the first: unlimited means 250 photos at a time. You can't do more than that in one order. Second- shipping was like $24 for 250 photos.
That being said.... I ordered one set of 250 followed by another like 150 photos. I was so so so indecisive about what ones I wanted to use.
And now I can say I'm thrilled with the 400+ little pictures I have. It's one thing to thumb through them on a phone or a computer screen... but it really brings back the memories to hold a photo in your hand and just smile/laugh/cry at the memory of whatever is in the photo.
So, I took these 400-something photos, organized them by family member/event/dog and then went through and found at least one "favorite" of each one-- and I even let Jason help with this part!
And now the fun stuff!
The Measuring!
So I tried getting super technical here. After my original "oh no!" moment that I should be measuring for 5 inches instead of 4, I got all sorts of fancy. I wanted to make diagrams so that I could show off how awesome I could be. That most definitely didn't happen. Here's what did:
I measured the dimensions of our wall: It was 39 inches across. It's like 49-ish something inches high for as high "up" as I wanted to go. The shelf that I want to add to the wall is like 36 inches tall.
So I measured the wall, figured that if each frame was a 5x5 frame, that I wanted 2 inches in between each frame. With this math, I would need 5 frames across the bottom and then I was thinking like 7 going up {I was thinking 7 inches total for each frame}. So that would be 35 inches, with 4 inches left for the sides. And, technically that last frame doesn't require that extra 2 inch measurement, so I put 3 inches on each side of the wall.
And from there I just measured 2 inches from the top of the first row, did the next one, and so on and so forth until I had all 7 rows of frame up.
Wanna have a good laugh at how I measured all this?
Take a look:


Yep. You're seeing that right. I bought a yard stick from Home Depot (a steal at 98 cents). I used it to measure up. And then, when I did the frames, I found the center point and just put a dot on my measuring stick so that I could put a nail in the same spot each time. That, and painters tape.... it worked like a charm! And you see how awesome they look!!


So the last thing I did was take some 3M tape (like the Command Hook kind) and put a little piece on the bottom of each of the frames so they'd stick to the wall. That way I know they'll stay straight, not fall down, and it was recommended on the original blog post for the Instagram Wall.
And once this project was finished, Jason told me that he thinks we should do the adjoining two walls with photos as well! I love this thought and will be embarking on an adventure to do the other two sides so that you have Instagram Wall goodness from all angles.
Seriously, I love how this project turned out and I am SO glad we did it!!!
And just for fun before I go, a hilarious picture of our Crosley running through the yard last week. With baseball season upon us, we are trying to give him some freedom in the house so he's not ALWAYS in the cage {he's a wall/corner/cabinet chewer-- which I think stems from being nervous from all the construction going on around us}... well, this photo was snapped when he was running crazy fast laps around the yard after our very first time leaving him out of his cage for a few hours while we went out. He did good this particular time and was loving all the praise he was getting!